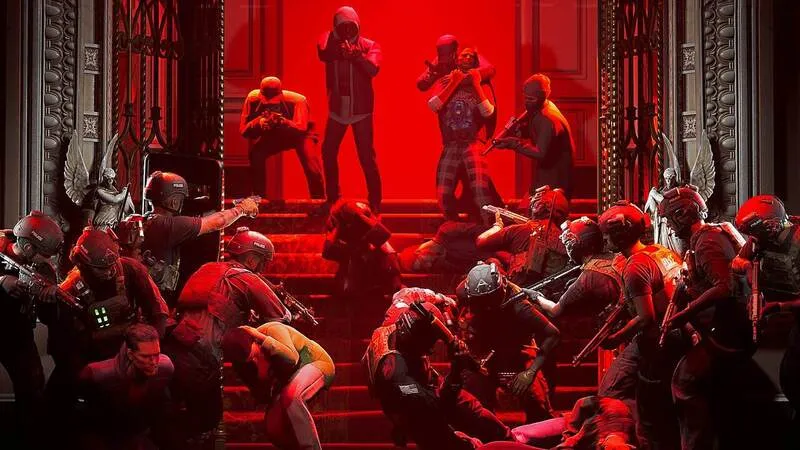
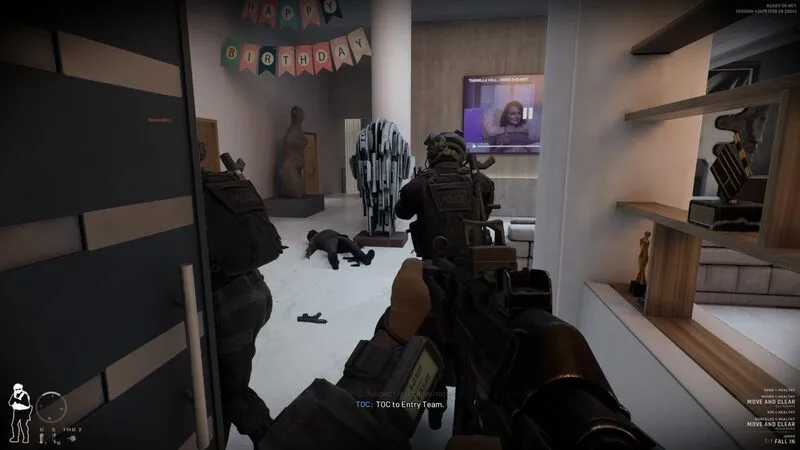
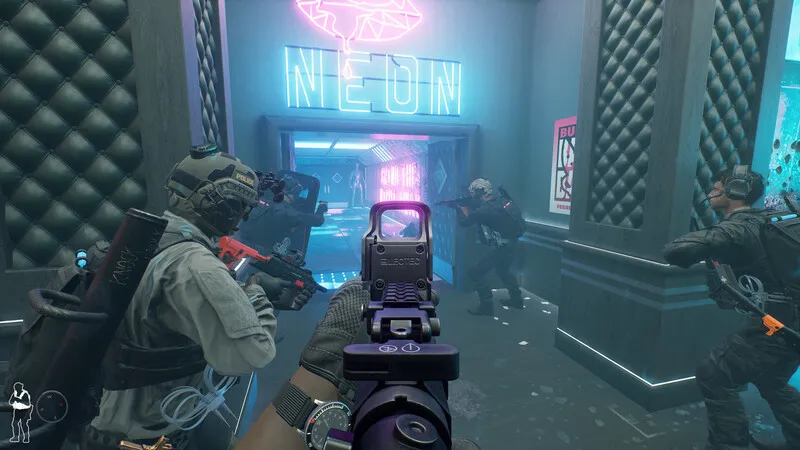
Ready or Not is a tactical first-person shooter developed by VOID Interactive, designed to simulate the intensity, unpredictability, and dangers of SWAT operations. Unlike run-and-gun shooters, Ready or Not demands patience, strategy, coordination, and a sharp eye for detail. Every mission is a puzzle where your decisions, tools, and teamwork decide whether hostages live or die.
This guide is designed to help you survive, succeed, and excel in Ready or Not — from your first mission to advanced tactics for clearing hostile environments. Whether you play solo with AI or in co-op with friends, the same principles of tactical discipline apply.
1. Understanding the Basics of Ready or Not
Before diving into missions, you need to grasp how Ready or Not is different from typical shooters.
Core Principles
- Patience Over Speed: Rushing leads to mistakes and deaths.
- Clear Communication: Essential in multiplayer; command your AI team effectively if solo.
- Rules of Engagement (ROE): You’re not here to kill everyone — you’re here to secure and protect.
Early Mindset
Treat every door as a threat. Assume every corner hides an armed suspect. This mindset will keep you cautious and alive.
2. Choosing the Right Loadout
Your equipment defines your approach to each mission.
Primary Weapons
- Rifles (AR-15, HK416, etc.): Balanced for most encounters.
- SMGs (MP5, UMP): Great for close-quarters with less penetration risk.
- Shotguns: Devastating up close, excellent for breaching.
Secondary Tools
- Pistols: Reliable fallback when your primary is empty.
- Tasers: Useful for non-lethal takedowns.
Gear Essentials
- Breaching Charges & Rams for forced entry.
- Flashbangs & Stingers to disorient enemies.
- Mirror Gun to scout under doors safely.

3. Learning Team Commands and AI Control
When playing solo, your squad is your lifeline.
Basic Commands
- Move & Clear: Direct your team to sweep rooms.
- Stack Up: Position your team at doors.
- Cover: Assign them to hold angles.
Tips
- Use your AI team as shields and scouts.
- Don’t let them wander — always issue precise commands.
4. Breaching Techniques
Doors are both opportunities and threats. Mastering breaching is vital.
Types of Breaches
- Silent Breach: Pick the lock for stealth.
- Loud Breach: Use a ram, shotgun, or charge for quick entry.
- Flash Breach: Combine entry with a flashbang.
Tactics
Always check with a mirror gun first. If unavailable, assume the worst and prepare grenades.
5. Clearing Rooms Effectively
Room clearing is the heart of Ready or Not.
Steps to Clear
- Stack at the Door.
- Deploy Flash/Stun.
- Enter & Secure Corners.
- Call Out Suspects/Hostages.
H3: Common Mistakes to Avoid
- Rushing into the center of the room.
- Forgetting to secure doors behind you.
- Ignoring unsearched closets or side rooms.
6. Handling Hostages and Civilians
Unlike most shooters, civilians are as important as enemies.
Rules
- Always secure civilians quickly.
- Use voice commands to get compliance.
- If they resist, tasers or less-lethal options are best.
Penalties
Killing civilians severely impacts mission scores and morale.

7. Dealing with Armed Suspects
Enemies in Ready or Not don’t always shoot instantly — but they’re unpredictable.
Approaches
- Verbal Commands: Order compliance first.
- Non-Lethal Force: Pepper spray or beanbag shotgun.
- Lethal Engagement: Only if suspects refuse or open fire.
Tactic
Always keep cover between you and suspects. Peeking corners is safer than exposing your whole body.
8. Advanced Coordination in Multiplayer
Playing with friends raises both the difficulty and reward.
Communication Keys
- Call out every action: “Flash right,” “Stack left,” “Cover rear.”
- Assign roles: breacher, sniper, medic, leader.
- Keep chatter short and precise — no wasted words.
Team Mistakes to Avoid
- Overlapping angles of fire.
- Breaking formation during a firefight.
- Forgetting to check rear security.
9. Using the Environment to Your Advantage
The maps in Ready or Not are designed for strategy.
Environmental Tips
- Mirrors & Cameras: Intel saves lives.
- Lights: Kill them to use night vision.
- Cover: Move from cover to cover, never in the open.
Vertical Awareness
Enemies may shoot from upstairs or balconies — always look up and down.

10. Improving Through Practice
Mastery of Ready or Not doesn’t come overnight.
Training Suggestions
- Run missions solo to practice clearing.
- Focus on one role at a time in multiplayer.
- Revisit maps — knowledge of layouts is key.
Mental Preparation
Patience and calm decision-making under pressure will carry you farther than reflexes.
Conclusion
Ready or Not is not about racking up kills but about discipline, teamwork, and strategy. From your first room breach to leading a team through complex hostage rescues, the key to success is caution, communication, and coordination.
Master your equipment, learn to read environments, and always prioritize safety — both yours and the hostages’. With enough practice and the right mindset, you’ll become a capable SWAT operator in one of the most realistic tactical shooters ever made.


